I talk about Barbours all the time, I know. I’ve gone from the ‘I want it to look perfect’ to a total redefinition of what ‘perfect’ looks like when referring to a Barbour. Now, when I think of a perfect Barbour, it has some wear. It has it’s own feel and smell. It’s like buying a used vintage Land Cruiser, and sending it in for a restoration. Vintage Barbour fans like Trip (A Trip Down South) and Matt (The William Brown Project) know what I’m talking about.
In the last off-season, I pulled the trigger on two vintage Barbour Bedales – one black one and one very vintage Navy blue option, complete with the flap chest pockets. I sent both of them to New England Reproofers to be overhauled, and was extremely pleased with the results (here and here). They are constantly in my rotation, and quite frankly, I love wearing the hell out of them.
As most experienced Barbour wearers know, the idea of the ‘look’ of a Barbour retreats to the utilitarian nature of the jacket. The most valuable real estate in any Barbour are the two large front pockets that act as pack mules for just about anything you can think of. In most newer models, the front pockets are lined, but in the vintage models (such as my Navy Bedale), they are unlined.
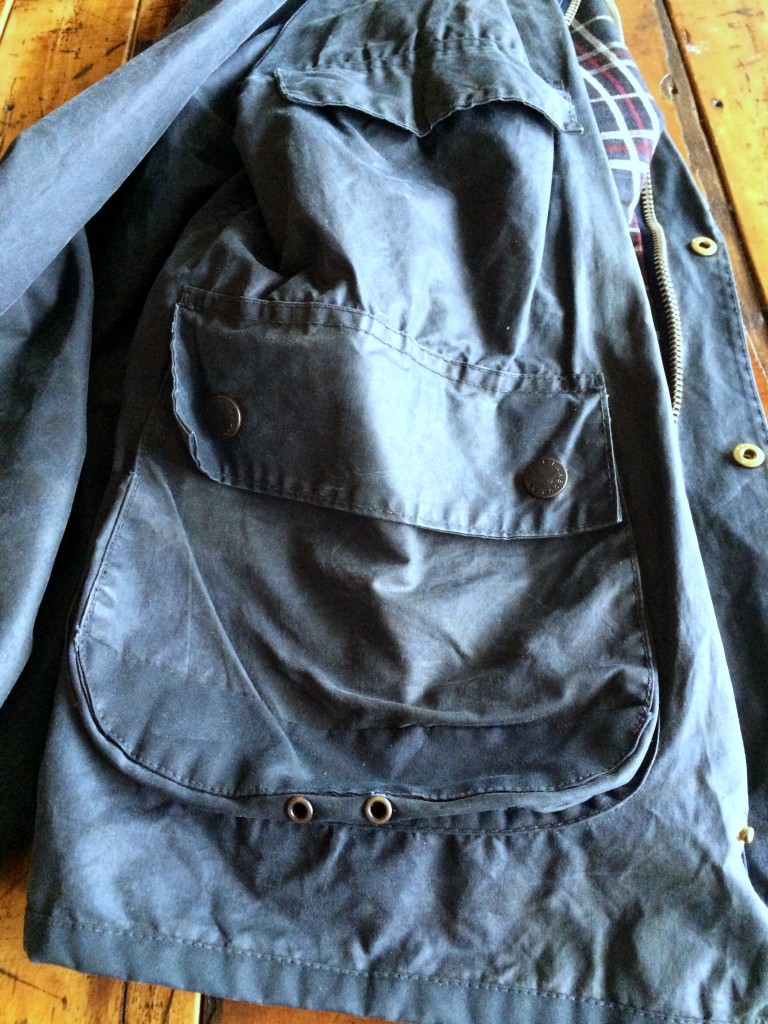
Yesterday as I was loading up to head out, I noticed that the bottom of one of the front pockets had torn, and was rendered useless. I was horrified.
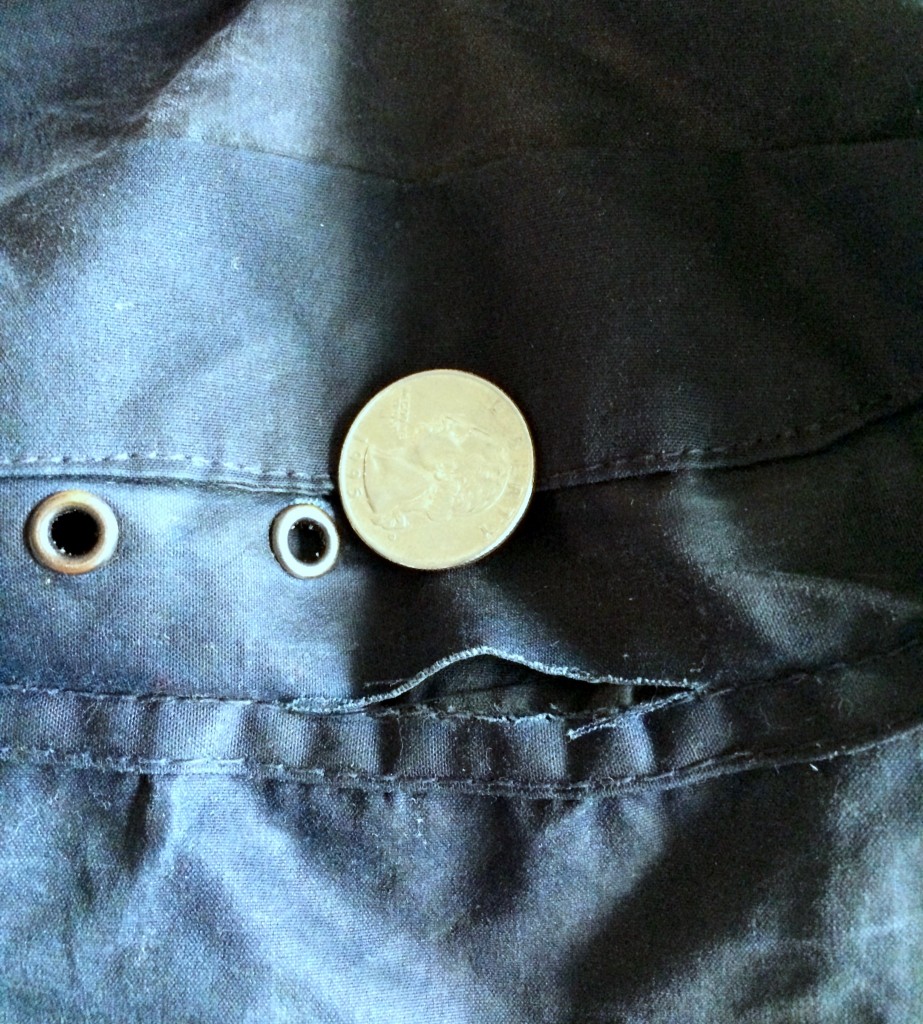
I skipped wearing the Navy option yesterday, and gave it some thought. I was close to sending this in to be fixed, but then it hit me: this is a vintage piece, and I should be able to handle the light maintenance. So when I got home, I pulled out the trusty needle and thread and got to work:
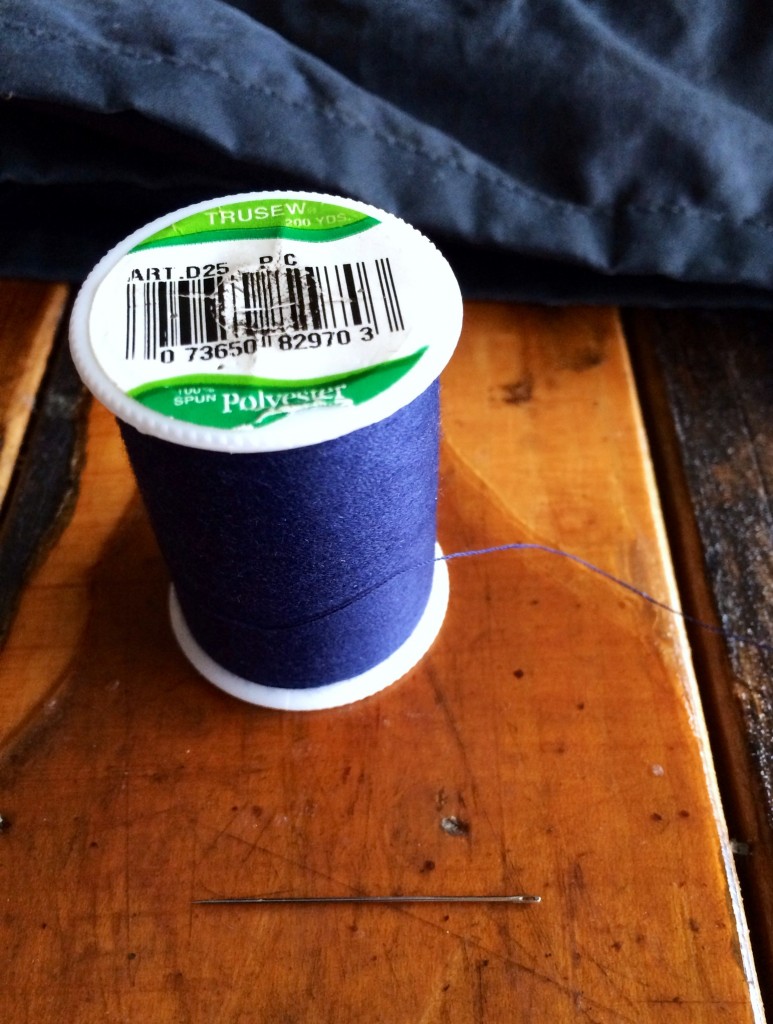
By no means am I a tailor by any definition, but I can work a needle and thread. I have replaced countless buttons, re-sewn on-seam stuff, and shortened Leather Man canvas belts. One little tear should be a walk in the park. I started with a normal stitch:
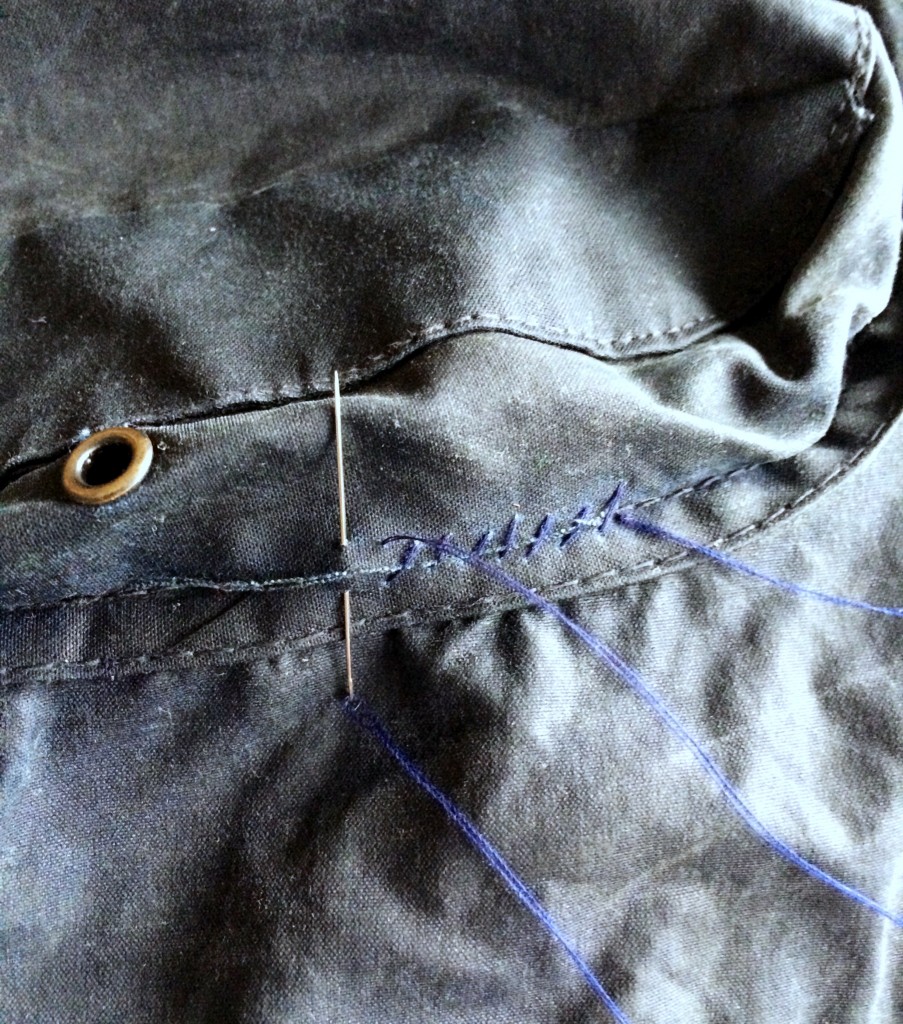
I was very careful to only attach the pocket back to the seam, and not catch any of the lining on the inside of the jacket. I was also conscious about not pulling the stitch too tight. I wanted it to be a clean look, but not put any undue stress on the vintage fabric. The pocket will actually ‘flap’ over the tear, but I still went with navy blue thread so it would blend.
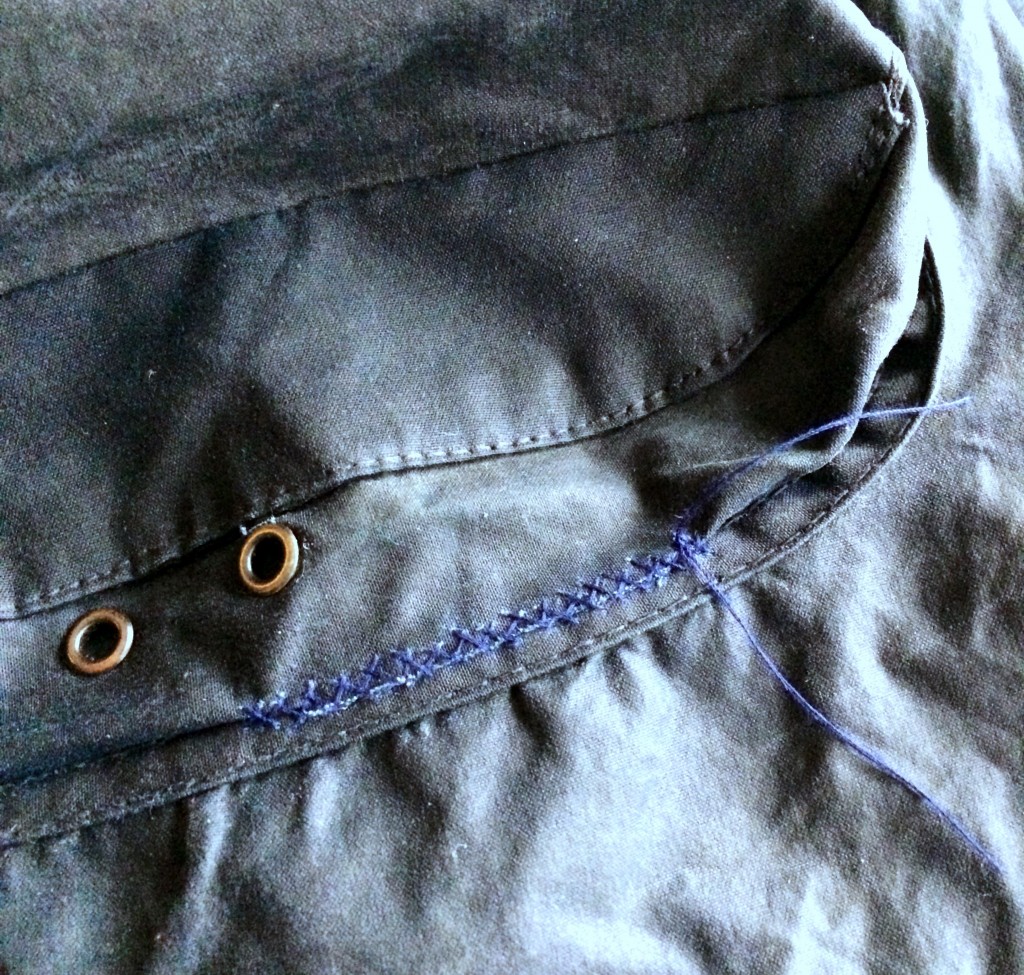
I carried the stitch beyond the tear about a half inch on each side so that there was extra support on the un-torn fabric. This should stop any future tearing from this spot.
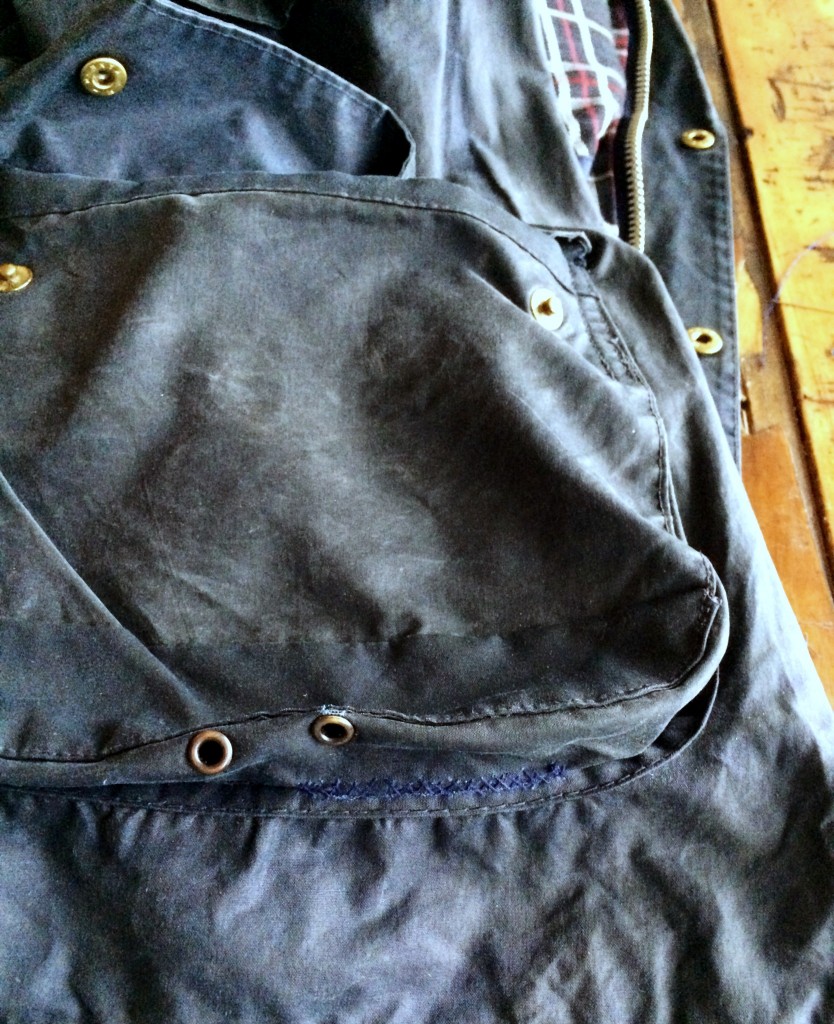
After it was all said and done, I like the way it looks. It may not be a professional fix, but it was free, and I think it gives it a little character. Nothing wrong with that. It rings true with my belief in buying well, and taking care of what you have. I loaded up the pocket with all my daily stuff and it seems to be back in perfect working order. We’re very happy in Red Clay Soul-land.
Now, back to beating this bad boy up…

Well done. Wish I was able to fix my beater Barbour myself but alas I think it is headed to NE Reproofers shortly. I shudder to think what it is going to cost. As an aside, I dig the navy Barbour. On my Barbour bucket list.
Great job on the fix. I have a couple rips in key spots on my Barbour that I’ve been putting off that I will now attempt to fix. I would love to see how you shortened a Leather Man Canvas belt. I have a few that no longer fit due to a loss in weight. I hate to see them just hang there in my closet going unused. If you could share how you went about shortening them it would be greatly appreciated. Keep up the good work on your instagram and website.
I do not know if it is my imagination or not. But, my Navy Bedale seem less durable then my Olive Beaufort. I am sure the only difference is the dyes. But, I gotten 5 or 6 rips in my Bedale.
Nice fix. I’m curious about the belt shortening, too. Keep up the good work.